Thursday, 31 December 2015

Revisiting Home automation

Hello internet, it's been a while!

So, 3 years, 2 cats, and one house remortgage later, I'm finally getting on with some home automation (the whole point of this blog to start with)! I got distracted for a while with work and prioritising decorating and other house related improvements (some of which I've documented on this blog).

I've thought about proper home automation on and off for the last few years, and along the way I've done plenty of research and come across many different methods of doing it. The most popular methods seem to revolve around arduino, raspberry pis, or off the shelf solutions like SmartHome or wink hubs. 

I don't want to be locked into using a particular platform or technology, or pay lots of money for sensors and things, and because I'm a nerd and like electronics I'd like to learn about what I do as I make it. Therefore I'm going to build my own solution using openHab and custom/handmade sensors.

The internet has loads of resources, and other people have done a lot of the initial work in creating open platforms and examples that I can borrow/learn from. I've got loads of links saved, which I'll share as I write more detail in future posts. And I've already got some electronics I can use:
  • Raspberry Pi 2 (nice and fast) with 32Gb MicroSD card
  • Raspberry Pi original model B (slower, but still good)
  • Arduino Uno
  • 1602a 16x2 LCD display and some other random electronics (LEDs, etc)
  • Synology DS415play NAS
  • 2x IP CCTV cameras
  • Nexus 7 (2012) tablet
  • Pebble Time smartwatch
  • Philips LivingColours RGB 1st Gen Lamp
But I'll need a bit more than that for what I have in mind, so recently I ordered:
  • Two NodeMCU LUA / ESP8266 Arduino compatible boards
  • Two C.H.I.P. boards from kickstarter (similar to a raspberry pi, but smaller with built in WiFi, bluetooth and 4Gb Flash memory) 
  • Five DHT22 Temperature sensors (but I may need more)
  • Logitech Harmony Ultimate Remote control + Hub
Home Automation Aims
I will probably start off small and simple and grow the system with more bits and pieces as I go along. 
  • Centralised Home Entertainment (LG Smart TV, Denon Surround Sound amplifier, TiVo, PS3, Xbox One, Wii U) control in the living room
  • Temperature and humidity logging of each room in the house, eventually linked to central heating control 
  • Electricity meter usage logging 
  • Lighting control/scenes across the house (will require new lights and wiring)
  • Presence detection (based on smartphone location) and scene control
  • Multi-room audio in kitchen, living room and bedrooms.
Current Plan/Setup
So far, I've come up with the following basic setup

Living Room
Raspberry Pi 2 - Running OpenHab and Mosquitto (MQTT Broker)
Logitech Harmony Hub and Remote
DHT22 temperature/humidity sensor - physically connected to Raspberry Pi 2
Phillips LivingColours RGB Lamp
Nexus 7 Tablet

Kitchen
3x DHT22 temperature/humidity sensors to measure temp and humidity of kitchen, fridge and freezer - physically connected to Raspberry Pi 2 in Living Room

Hallway
NodeMCU LUA / ESP8266 board - 1x DHT22 sensor to measure temp and humidity of hallway and optical sensor to measure electricity usage

Bedroom 1
NodeMCU LUA / ESP8266 board - 2x DHT22 sensors to measure temp and humidity of bedroom and bathroom

Bedroom 2
Raspberry Pi original - 1x DHT22 sensors to measure temp and humidity of bedroom


Well, thats the rough plan so far.

I've installed OpenHab and mosquitto on the Rpi2, and it works, but it can only connect via HTTP to the TiVo and LG Smart TV.


I'll post again with more plans and details of what will actually work, and what I can do with the new parts when they arrive. Oh, and photos, lots of photos!

Sunday, 18 August 2013

Kitchen Upgrades

Recently we've been working on redecorating the kitchen.

Over the last 10 months we have slowly replaced the cooker/oven and microwave, and in the last week we've repainted and rebuilt one corner with new IKEA units.

I've been recording it all with the GoPro, and have ended up with 24,000 photos totalling 77Gb! My 7 year old MacBook Pro is struggling to process them into a video, and the upload will take a while, so here are some photos of before, during and after:

Before

Saturday 10th August

Monday 12th August

Tuesday 13th August

Thursday 15th August

Saturday 17th August

Sunday 18th August
Finished!
I will post the full video soon.

Monday, 29 July 2013

Go Pro Hero 2 + WiFi Bacpac = very long timelapse

I've been playing round with doing a some short timelapse recordings on the GoPro Hero2, and it's great. The only limitations are the battery life and the memory card.

In most cases, shooting a short timelapse of a few hours, this is no problem. But if I wanted to record a timelapse over a couple of days, or weeks, or maybe months, then I hit some limitations.

There are various solutions. Running USB power (from a regular smartphone charger) solves the power problem. But the longest interval the pre-set timelapse menu offers is 60 minutes.

I spent a while searching for solutions, and there are many, but they all cost money that I don't really want to spend.

http://cam-do.com/GoProTimeController.html

Even using an Ey-Fi Wireless enabled SD card would cost money, and that's when I realised, the GoPro has a WiFi bacpac! The android app connects to a new hotspot broadcast by the GoPro and must communicate with it somehow. I thought: someone must have sniffed/hacked the protocol that it uses so they could control it via a computer, and they have!

http://www.techanswerguy.com/2013/02/capturing-live-stream-from-gopro-hero-2.html

or if you prefer a nice windows app (and I can't believe I didn't spot it, it's on the original website!


So, I can power the gopro over usb (link to external power case mod) and mount it pretty much anywhere that the cable and WiFi signal will reach. I can add a WiFi connection to a spare linux computer (e.g. the Raspberry Pi used for Raspbmc in my bedroom) to link over WiFi.

A collection of scripts will enable me to remotely power up the camera, take photos, transfer them over to the Pi or my NAS, and then power down the camera.

Some use of lockfiles in the scripts will work as a quick and dirty status monitor, and if the lockfiles don't appear then a watchdog script running on the nas can email alert me that something has gone wrong.

Some more scripts, and some clever use of FFMPEG, and I could schedule daily timelapse video creations and uploads to youtube. In fact now I know I have almost full access to the gopro over WiFi, the possibilities are almost endless! I don't need to invest in any more hardware, just make some clever scripts to control it, and see what I record.


Of course, Becky want's to record some of her car journeys with it as a dashcam, but I have 2 cases (waterproof and skeleton) so can swap it between both.

Saturday, 20 April 2013

Gardening Go Pro Timelapses


Today me and Becky did some much needed gardening, and I decided to test out a new timelapse idea. I've seen people use the IKEA ORDNING kitchen timer as a rotating base for their GoPros, a bit like this.


I am impressed with the quality of the results given the simplicity of the solution. I will have to use this again, but need to attach some sort of tripod to the base as my camera angles were limited. Maybe a connector for a Gorilla Pod or a standard tripod mount screw?

Sunday, 27 January 2013

Bedroom almost ready, Bathroom painted

Its been just over 3 months since we moved in, and the bedroom is nearly ready. Carpet and furniture is needed, but it's already looking a million times better than the floral decoration when we moved in.

Click any photo to view it bigger:

Before any decoration began
We quickly started on the built in wardrobes
With all the wardrobes, wallpaper and carpet removed
After painting the walls grey and purple
After putting up the curtains and 
From another angle
The bedroom is already starting to look warmer and feels much bigger than before.

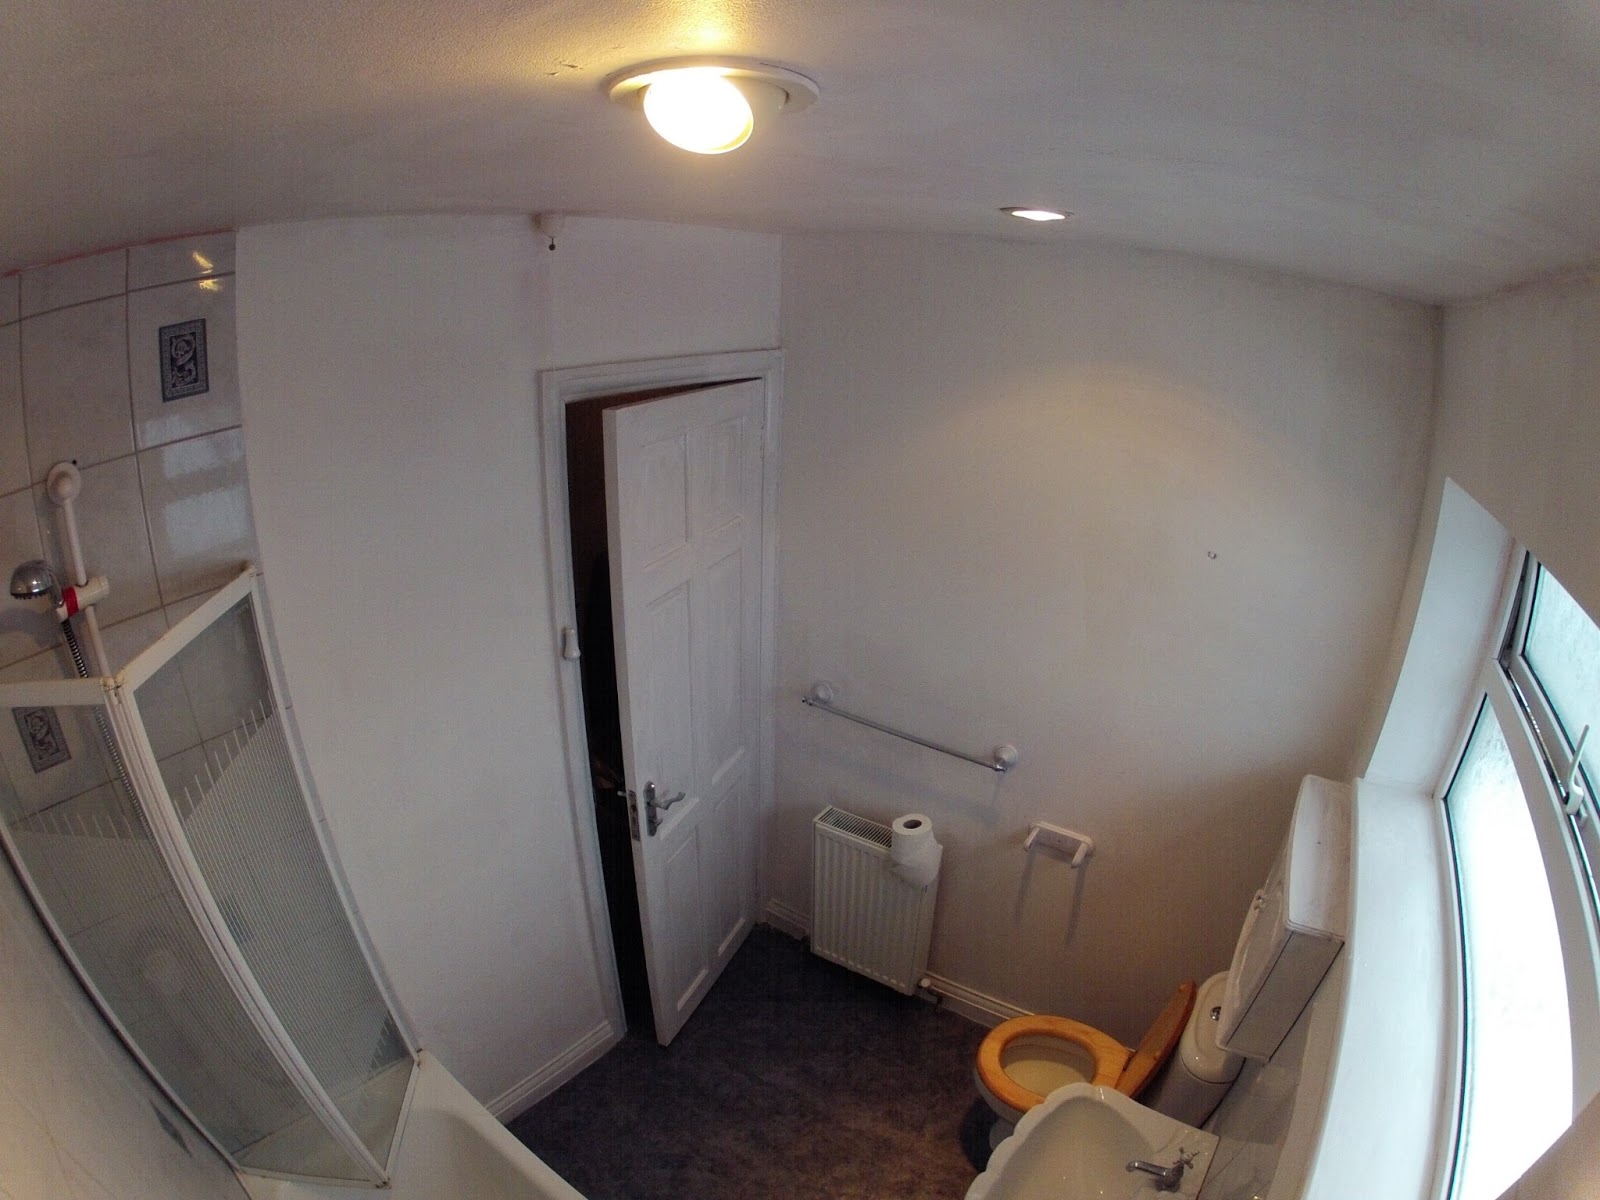
The bathroom has also changed quite a lot

No decoration yet 
From above the bath
Painted white and a new shower head and pole fitted
Looking better
  
 We have a new shower curtain and pole and a white toilet seat arriving soon.

Sunday, 20 January 2013

Spontaneous Bathroom Painting

While finishing off the painting we did yesterday, we suddenly decided to paint the bathroom white. The original decoration wasn't great, and just looked odd.

Before

About an hour later and we've nearly covered the odd texture of the previous decoration

After

Saturday, 19 January 2013

GoPro Timelapses: Snowman Building and Bedroom Decorating

So, I'm getting to grips with my new GoPro Hero2 in various different modes. I've shot some videos recently of the snow in Bristol, which I will edit and post on YouTube when I have the time.
GoPro Hero2 HD inside its waterproof housing
Overall I'm very impressed with the camera. While the battery can be limiting, and the mic prefers to pick up the noise of the camera being handled/moved (which is hard to avoid with the way they've designed the camera to live inside a waterproof housing) over what's actually happening.

I recorded a Time Lapse last night (Friday 18th Jan 2013) of me and Becky building a snowman in our garden using 1/2 second intervals and a 32Gb Class 10 SanDisk SDHC Memory Card. Unfortunately, while this makes a nice smooth frame rate on the final video output, the GoPro can't quite keep up with the frame rate and sticks at ISO 400. This was almost useless in the dark conditions, and therefore the entire time lapse is underexposed :( Adding to this, I ended up with almost 4000 images of about 2mb each. That's a lot of data to process!

I've had to adjust the levels on all the images before compiling the individual frames into a video clip. This was pretty straightforward using the Actions and Batch Processing features in Photoshop, but took a few hours of 100% CPU on my MacBook Pro and at one point I thought it would melt!


All time lapses I record from now on will be at 2 second intervals so the GoPro can keep up, and I don't have too many images to process afterwards. This will be sufficient for things like decorating rooms in the house (which is exactly what me and Becky finished off today).

This was shot over 1 1/2 hours with the GoPro suction cup mount attached to the window in the bedroom and the GoPro plugged into my old HTC Desire USB charger (providing 5V at 1A) in case the battery went flat while recording. I really like the wide angle shot and how much activity the camera picks up. This is a million times better than the previous time lapse I recorded with my Canon IXUS 80 digital camera.


I will use a very similar setup when recording the next stage of decorating our bedroom: new carpet and moving all the furniture in!