Anyway, the prototype has been stable for over a week happily posting MQTT messages every minute with temperature and humidity readings. I've got nothing permanent logging or displaying MQTT at the moment, but that's another project in itself :-)
Time to tidy it up and put it in an enclosure. The
one I had in mind was £4.09 from maplin and seemed big enough to fit the NodeMCU board and a small USB phone charger. Everything will be contained in one unit that plugs into the wall. The micro USB port for the NodeMCU board will sit near the top so I can re-flash and diagnose issues with it mounted inside the enclosure. I also bought some veroboard/stripboard and heatshrink for tidying wires up with.
First of all, I installed
Fritzing (an awesome piece of software) so I could make some nice plans to work from instead of the messy breadboard of parts and wires that was running the prototype. There is an option in Fritzing to create printed PCB layouts, but I won't bother with that unless I mass produce more than a few of these.
 |
| Breadboard layout |
Nice and simple. There is one DHT22 sensor onboard (to go inside the enclosure) and the second sensor will attach with a 3.5mm headphone cable so I can put it in the room next door, or further away from the enclosure.
 |
| Circuit Diagram |
No power connectors visible on these diagrams, but I will just attach the +5V from the phone charger to Vin and GND on the NodeMCU. Also, the resistors can be removed from the DHT22 sensors and they seem to work absolutely fine.
By all means, this is not a direct "howto" guide, and there are quite a few details missing, but here is a rough document (including photos) of how I did it:
 |
| Working prototype and most of the parts needed to make it properly |
 |
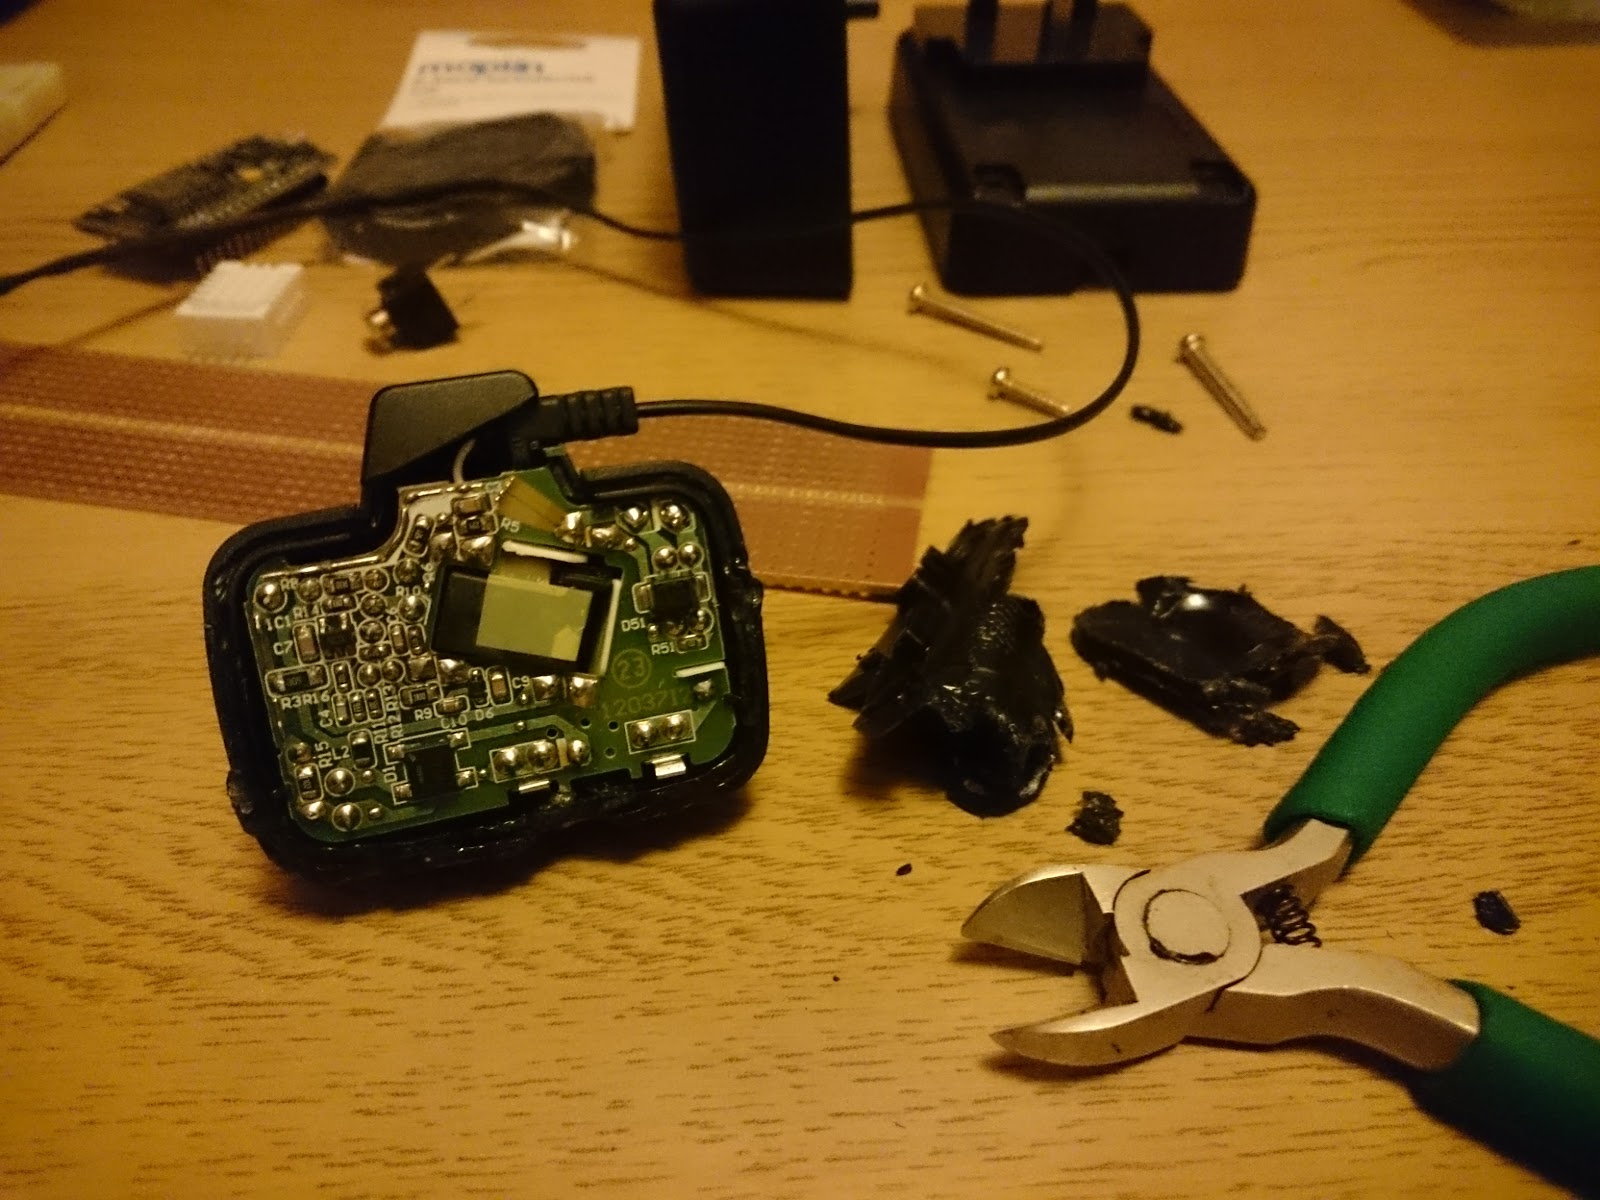
| Probably the toughest bit, dismantling an old phone charger |
 |
| There is just enough space for the NodeMCU and charger board |
 |
| I added a second DHT22 to the prototype and modified the LUA code |
 |
| Success! Temperature and Humidity from 2 sensors publishing to MQTT |
 |
| I broke the stripboard while cutting it, but still had enough working pins |
 |
| 2 thick wires for Live and Neutral mains current... |
 |
| ... soldered to the old phone charger |
 |
| adding a few wires to the stripboard to complete the circuit |
 |
| it all fits inside! I added a DIN switch for the deep sleep pin connection |
 |
| soldering the NodeMCU in place. No going back now! |
 |
| The finished result. Not very pretty, but it works and will fit in the case |
 |
| DHT22 sensor on an old headphone cable |
 |
| Everything squeezed inside the case side-by-side with the prototype |
As you can see, it works. I forgot to take a final photo of it completed. All I added was some electrical tape over the PSU and plenty of hotglue to keep it all from moving around.
There were a few bugs in the Lua code, so I split it into 2 separate files. init.lua with a 2 second delay, which can be interupted with tmr.stop(0), which then loads and executes temp.lua containing the actual code that collects temperature and humidity readings and publishes them to my MQTT broker mosquitto.
I'll write more about the code, and MQTT data, in a separate post. For now it's happily sat plugged into a mains socket, pinging off it's readings every minute until I do something proper with the data.


No comments:
Post a Comment